Thursday, February 16, 2012

A Successful Cast Boosts our Morale


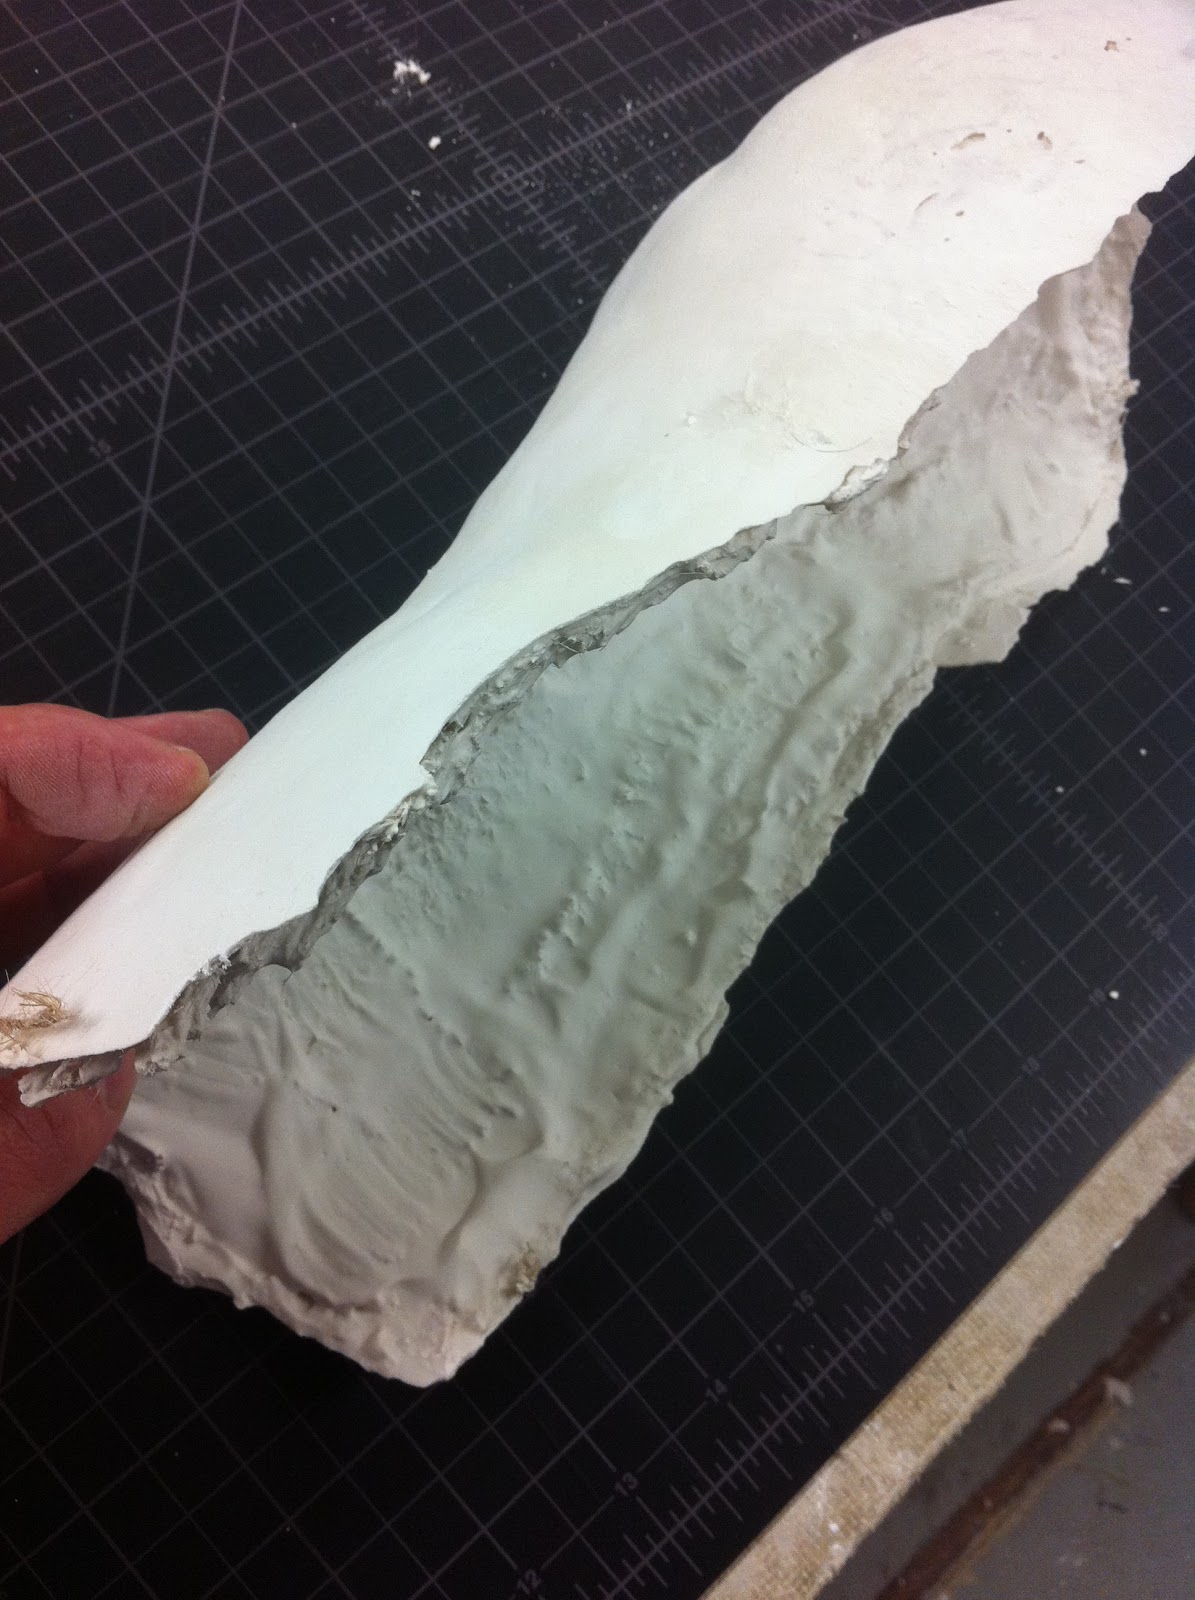
After the fiasco in our previous casting session, John and I really needed a win before attempting to cast my wife Jessica's pregnant body.  We weren't going to get a lot of shots at her in that state, so we knew that making a successful positive from life was essential.  At least this way we would have her form frozen in time, after which we could take our time making a more meticulous permanent mold from the plaster positive.

So John and I invited model Alexandra back to the studio for another casting session, except this time instead of just her arm, we were going to go for a long torso with a twist.  It was an ambitious attempt, but if we stuck to materials and methods we had already become familiar with, we thought that we could pull it off.  Our goal was not just to make a reliable cast, but also to do it in a time frame that would be comfortable for a woman in the last month of her pregnancy.  We would have to work expeditiously, but without compromising process to the point where we might lose fidelity in the cast.  Alexandra's pose put a lot of weight on one leg, which made it difficult (despite her fitness) to maintain the pose deep into the mold-making process.  Working with her on this project really gave a good sense of how to get the job done well without overly stressing our model. 


The picture above shows an appropriately exhausted John seated next to what is arguably our best cast to date.  I think we are finally ready to take the next step, which is to cast Jessica's pregnant body.  


Above is Alexandra inspecting her cast, and below is what I believe to be the nice detail of the neck and collar bone captured by the alginate mold-making process.

Wednesday, November 23, 2011

A Casting too Far


So John and I tried to make a fairly ambitious cast for our first real attempt at using a latex reinforced gypsum known as duoMatrix NEO.  This casting material was supposed to be very strong and light weight, so that we could make larger and thinner castings.  As you can see, it was a bit of a disaster, with body parts shattered and strewn across our work area above.  So where did we go wrong?

  • We tried to go too big on our first cast with a new material.  Without enough time to really learn the working properties of duoMatrix, we had no reference point upon which to base the amount of material and the reinforcement required to make a cast of this size work.
  • We started late and were very tired.  The size of the mold, the complexity of the preparation of a new material, and our addled brains were not the right mix.
  • We also decided to experiment in this same session with yet another casting material unknown to us: wax.  We had a pretty poor setup for melting the wax, and little guidance on how to pour successfully.  As a result our wax cooled too quickly and pooled in the breasts.  In the end, adding wax to our list of things to do only made us work even later, which led to even more mistakes.  But a partially successful cast in wax did emerge from the process.  Because we can easily "edit" wax positives, it would be a nice material to master.  Since alginate molds inevitably have errors, wax would give us the opportunity to make corrections before making a more permanent mold for future casting.


  • And lastly, we did not have proper plaster bandages for the mother mold, so we had to create this hulking mess below from plaster and burlap.  While not pretty, it did do the job.  The problem was that in demolding it was so rigid and difficult to manipulate, that our already weak casting did not withstand the pressures of the removal process.  Perhaps a bit more care might have have left more of the body cast intact, but it was never likely that we were going to emerge from this process with any great success other than lessons well learned.


Monday, October 3, 2011

A Weekend of Faces


On Friday, John and I decided to experiment with casting a face.  He had spoken with me about his desire to make a Halloween mask for his son based on his son's own face, and this inspired us to experiment along those lines.  I volunteered for the assignment, since it was important that one of us know what it is like to endure the process of casting the face.  It was claustrophobic, blinding, and at times I felt like I was at a loss as to where my next breath was to come from.


But in the end, I was able to relax long enough for John and Reservoir Sculpture distinguished guest, Keith Mendak (see tatoos below), to finish covering my face in alginate.  If that were not enough, I also had to endure the wait for the mother mold in plaster bandages to be made and cure.  In retrospect, not such a bad thing.  But as a newbie I found that this process required some amount of emotional composure.


Keith has a long history of expertise in this area, and picking his brain was a wonderful experience.  We talked of press molds, casting glass, and fun ways to use Styrofoam to extend the volume of alginate.  More than anything else, I found in Keith an enthusiasm about process that I wish were more pervasive.  If this were so, the world would be a better place to toil.

But there was one thing that Keith turned us on to that bears special mention -- the value of casting in wax.  It is a brittle medium, but one that can be incredibly workable at the right temperature.  Any positive made from life is bound to have imperfections that stem from the mold-making process.  Working a first positive in wax allows the artist to chase away all of these errors prior to the manufacture of a more lasting and perfect mold.  I look forward to exploring this with John.


Speaking of John Gonzalez, see his son, Kai, above.  He is seven years old and volunteered on Sunday to have his face cast too.  John was meticulous in his preparation.  He had Kai immerse his head in water so that his ears were covered, gave him some tubes in his mouth to breath, and covered his face with paper towels so as to simulate the pressures of being encapsulated in a mold.


They worked out a rudimentary sign language so that Kai would be able to keep us abreast of his needs and concerns.  And in the end we found that this little seven year old boy was more courageous and "zen" than I could ever have been.  Kudos to Kai, and to his little brother, Quinn, who took all of these great photos with his dad's camera. 

The end result speaks for itself!

Monday, September 26, 2011

Experiments in Sand


Model John Lee agreed to let John and I try something new.  John Lee was originally recruited to be a subject for our Scar Project, since his inner arm bears a significant scar from an accident with pane glass from when he was six years old.  Not willing to repeat ourselves, since we were casting another arm, we decided to create a solid cast in such a way as to make them seem to emerge from a solid base.  We used sand to achieve this result.  Our model buried his hands in sand enclosed in a box, and then we filled the box with alginate (see below).  It used up a lot of alginate, and we certainly could brainstorm a more efficient solution, but this was an experiment that we felt we should try.  Once the alginate had set, we removed our subject from the mold, and flipped it over in the same box for casting.  Any excess plaster poured above the mold, would thus form the base of the sculpture.

If we had had our way, we would have avoided getting any sand in the plaster.  However, with all the sand clinging to the alginate, it was impossible to get the non-body parts of the mold clean.  There was no doubt that when we poured plaster into this mold, the sand would transfer to the casting.  Plenty of sand also fell into the parts of the mold that represented his arms and fingers, but we were able to blow that out with compressed air.  Unfortunately, this will not work as a permanent solution, since the compressed air damaged the mold in places.  Also the remnants of sand in the mold tinted the plaster in the arms and fingers.  While this effect was not undesirable, we would have preferred that it was by choice rather than by chance.

In the end, however, the sand along the surface of the base made for a nice contrast with the arms.  This contrast only served to emphasize the look of arms emerging from the base as if partially submerged in a fluid.  Again, this was not an undesirable effect, but we would like to find alternatives, so that next time if there is sand in the sculpture, it is there only because we wanted it to be there.

All in all, we felt that end result was successful and beautiful.  The piece could use some finishing to polish away some of the marks of the mold-making process.  But John and I were pleased that we have taken another positive step in the direction of making more exciting work in this medium.

Tuesday, September 13, 2011

The Scar Project


Model Alexandra is the first contributor to the Scar Project.  This effort to document the various marks on human's bodies, is meant to be a two part exploration.  

The first part is both creative and technical.  It demands that we not only work to improve the techniques of mold making and casting, but it also asks that we think carefully about how we frame in sculpture a mark on the body.

The second part is an exploration of human bodies and the history that these bodies record through their marks.  Like a geographer who maps his world, we seek to map the bodies that are the worlds of our models.  I look forward to those undiscovered countries. 


This was one of our more successful casts to date.  It was an immersion cast, and Alexandra's arm came out of the mold with no alginate residue anywhere.  That meant that it was all in the mold.  We spent great care pouring Hydrocal into the mold.  Still loose and wet, but for a direct pour not such a liability.  Thankfully we worked out all the air bubbles, and the cast was complete.

I was astonished at the faithfulness of the casting and how well the scars on her arm were rendered.  But what was most beautiful was to hear Alex then talk of her scars.  The narrative was so moving, and I look forward to seeing the sculpture paired with a written record of the life engraved upon her body.

I am humbled by her candor thus far.

Casting a Torso


John and I hired a model for the torso cast.  Not only did we need someone with whom we could practice mold making from life, but we also needed to know how she might react to the process.  Fatigue was our greatest fear for the model, and this experiment would help us better understand what our subject could endure during the process.

We had her pose against a board that was leaned slightly back.  We figured that this might make things easier for our model, Danielle.  Interestingly enough, she suggested that next time she stand upright.  Even in the slightly laid back position, she found the weight of the mold the most oppressive part.  It made breathing difficult for her.

We also forgot to have her take her clothes of sufficiently in advance to have the marks from them disappear from her skin.  As a result, you can see the impression from her underwear in her skin in the final cast.  An interesting accident.

The cast came out well with a level of detail that thrilled the whole crew working that night.  We pulled it off.  There certainly are a lot of places where we would do things differently, but as a first experiment the yield was enormously satisfying.


The breast with a slight repair in clay to the mold under the nipple.


We started with the application of the print coat.


After treating the first layer with bonding agent, the second layer of alginate was applied by John and me, while Joe Fischer applied the burlap strips before the alginate set.


The plaster shell being applied.


A nice view of the mother mold.  You can see the layers: skin, aliginate, burlap, and finally plaster bandages.


John inspects the finished mold, now laid flat on the table for casting.


Making repairs to imperfections in the mold with clay.  Bubbles or missing spots in the alginate, which stem from areas of poor application of alginate to the model, would result in lumps on the surface of the cast.  Danielle's belly button, for example, was not filled in all the way with alginate.  The consequence was a big bubble of plaster that turned a bona fide innie into an outie.  We will have to watch for that next time.  In the meantime, repairs can be made by hand with clay filler.


The final hollow casting reinforced with burlap, but yet to be demolded.

Further Experiments with Alginate


Before we could go for the torso cast, which was our next goal, we needed to prove that we could bond alginate to itself.  Once this material sets, any additional material will not lock into the stuff that set before it.  We learned previously that we could only cover a limited area with alginate and get it thick enough to work well during casting.  But if we could put a thin layer of alginate on, let it set, and then follow this layer with another application of alginate, we could have both coverage and thickness.  So we would have to bond the second layer to the first.  We have an alginate bonding agent, but were experimenting with it for the first time.  Dissolved in warm water this solution would be briefly sprayed on set alginate.  The surface is then wiped with water and patted dry.  Thus prepared, the set alginate will bond with a subsequent application of the mold making material.

To test it out we put a thin layer of alginate on a bottle to make a print coat.  This would be a thin layer whose purpose would be to take a faithful impression of the bottle's features.  We then treated the set alginate with the bonding agent, followed by a thick application of alginate as a second coat.  We had problems with the mold that resulted in a somewhat mangled cast, but the experiment worked.  The two layers of alginate held together well.  We now knew that with a larger mold we had the working time and coverage ability to achieve our goals.

We were ready for the big cast.

Bonding the Alginate to the Mother Mold

 The next casting was devised to attempt a solution to the problem of keeping the mother mold and the alginate together after they are removed from the model.  For this project we used my knee as a model.


John and I figured that we needed this to be worked out for a couple of reasons.  For one, we did not want the rigid shell to deform the alginate mold.  This happened a bit in our previous casting, when we were unable to get the alginate and the mother mold to fit back together perfectly.  We also struggled with alginate flopping over as it climbed the side walls of the mold shell.  We tried to pin them up while casting, but felt it would be better if the sidewalls were completely bonded.  To lock the alginate and the plaster shell together we used strips of burlap.  While the alginate was not yet set, we placed the burlap halfway into the mold material's surface.  Once set it was really locked into the alginate, and the plaster shell would reliably bond to the other side of the burlap.  It worked.  We had a nice mother mold that was well bonded to the alginate.  There are applications where being able to remove the mold from the mother mold would be desired, but for now our experiment was a success.  We did have a hiccup in that the alginate was very thin, and its surface was disturbed by the warp and weft of the burlap.  The final cast had some very nice skin detail, but there was a visible pattern from the burlap as well.  Next time we will have to make sure that the alginate is very thick, so that the print side of the alginate mold (the part that is formed against the body) will not be disturbed.


We tried casting with Hydrocal FGR again.  Still works much thinner than Plaster of Paris, but we are getting better.  This time we decided on a very thin layer, followed by a thin layer of burlap, and then one more thin layer of plaster.  We ended up with a very light and strong shell for the casting.  Really promising if we are going to scale this up.


Learning to Lay Up Alginate and Make Hollow Casts


In the search to make bigger and better casts, John Gonzalez and I decided to work towards large scale body casts. As a goal, we first set casting my wife's pregnant belly. But before we could attempt such a thing, we would have to experiment with alginates and casting materials to develop new mold making and casting skills that would be required for this process. First, we would have to abandon the immersion mold, since this is not practical at the scale of a human torso. We would also have to abandon the solid pour technique for casting. The forms are simply too large for a solid plaster cast by measure of weight alone.

If John and I were going to be able to make a body cast, we would have to learn how to lay alginate on a vertical surface. So we met to accomplish this next step required to advance our skills. John volunteered his back for the effort. We had just acquired two new working materials: Hydrocal FGR (a fiberglass-reinforced gypsum) to be used in lieu of Plaster of Paris, since it is lighter and stronger; and an alginate that has been mixed with tiny fibers, so that it holds together well when working in the vertical plane. The alginate was a little harder to mix, but it did go on thick and with relatively little drip. The working time is a bit short at five minutes, and we were just able to cover his back in the time allowed.

We then proceeded without delay to make a mother mold out of plaster bandages. This rigid shell would support the alginate mold when we removed it from John's body. Since the alginate is flexible like a rubber, this support shell must be built to support the shape of the mold for casting. As we removed this shell, the alginate and the shell came apart, but we were able to fit them back together before casting.

The mother mold came off first, and then we peeled the alginate away, and fit it back into the rigid shell. We then placed this flat on our work table and started pouring the Hydrocal into the mold. Making a solid pour would not work, since the plaster would simply flow out of the mold. But we also wanted a light casting, so we would try to work the plaster into the mold surface, and hope that as it set we would have the ability to really produce a cast that was strong and of uniform thickness. But the Hydrocal refused to set in what seemed to be a reasonable time frame. Clearly our mix ratio was off, but we also had to realize that this stuff just behaves differently from Plaster of Paris. In the end we had a nice rigid shell, but the surface was quite cracked from the poor Hydrocal mix. While "painting" (or rather 'laying up') plaster into the open mold did work, we have a long way to go with this material to get it to a working consistency that we can truly control.


There were many successes here.  We made a successful mold and a hollow cast that reproduced enormous detail like the wrinkles in John's skin between his shoulder blades (above), and the pores in his skin (below).  


The casting was brittle, but next time we would be better with the plaster mix. The shell was cast hollow, so we know now that this could be done.  My fingers in the picture below show the thickness of the shell.  Pretty good, and essential if we are going to try to cast a larger area of the body and keep it light.  But most importantly we emerged from this experience knowing that a few more skill sets would have to be acquired:

  1. We would have to learn how to get more coverage out of the alginate.
  2. We would have to find a way to adhere the mother mold to the alginate, since the slip on removal led to a bit of deformation from the mother mold.
  3. We would have to get better control over the plaster during casting. 


Monday, September 12, 2011

Practicing with Molds and Casts


A few critical processes needed to be practiced before John and I could take the next step towards casting a body.  To make a full-body cast, we would have to make multi-part molds.  The one above was a casual experiment with making a very simple mold of a sphere.  Plaster was poured into a cup, a billiard ball was inserted to its midpoint, and the whole thing left to set.  Once dry, some Mold Soap was brushed onto the plaster surface, such that a second pour of plaster would not stick to the first pour.  A little column of clay was used to form a spout for casting.  When all was done, we had our two-part mold.


This, however, was not our first all-plaster, two-part mold.  One evening John was determined to make a mold out of pure plaster.  No alginate or modern conveniences.  He was going to work a mold using the same tools that sculptors used over 100 years ago.  He poured plaster over the back of his hand and worked it until set.  Then after an application of mold release, he coated the palm of his hand with fresh plaster.  Throughout we were keying the two pieces so that they would fit together, and reinforcing the plaster with strips of burlap.  The final result wasn't the prettiest thing, but it held high levels of detail and could be cast.  The plaster hand cast below suffered a little from the sloppiness of the mold, but it taught us a lot about working with plaster.

One amusing note about this cast was how the plaster mold tore several of his hairs off the back of his hand.  They stuck out from the mold, and when cast with plaster were transferred to the finished piece.  Funny to see a cast of John's hand with actual hair "growing" out of the sculpture.  We are definitely going to have to figure out how to work with hair, so that our models don't have to be perfectly shorn.


And finally (as we cleaned up) I quickly grabbed a wet paper towel and made a quick paper cast (see below).  It holds its form, but the cast is weak because the paper in the towels is made up of short fibers.  But with properly prepared paper pulp, we can cast paper into our molds as well.  I look forward to making some life-size paper casts in the near future.

Saturday, September 10, 2011

Casting Small Again


My beautiful wife and artist, Jessica, catches our son snoozing to make molds of his fingers.


The results were spectacular.  I really like thinking about how to make casts that are both unusual and technically challenging.  These work for me because they represent both technical growth as well as the vision of a beautiful eye on the world.  I love you Jessica.

Trying to Scale it Up

The next challenge was to make a larger cast.  The mold for designer and artist Joe Fischer's arm was built out of a custom-fabricated cardboard box into which we poured alginate and then immersed his arm.  A fun time was had, but it became clear that making molds by immersion was limited in growth potential as we sought to make larger and larger castings.

The First Cast

This was the first time that my friend, John Gonzalez, introduced me to the use of a material called alginate that is used to make molds of the human body.  These hypoallergenic alginates start as a liquid and then set up to a wet but rubbery consistency.  The mold that cast my new son's hand was made by immersion.  A small container was filled with a liquid alginate, into which my sleeping son's hand was immersed.  Within a few minutes the alginate had set, and my son's hand removed from the mold.  Plaster of Paris was then poured into the mold to create the cast.  Notice the faithfulness of these two materials to the human form.  The alginate and then the plaster were able to render enormous detail: wrinkles, pores, fingerprints.  Great fun.  Thanks John.